
home for-sale how-we-build crokinole crokinole-gallery about-us
Next pageCarl and I prepare the decks. We do not draw ink lines on our boards, but we use a router to put grooves down instead. When we apply finish, the grooves will darken and fill, and in the end it will appear to some that we have used some sort of wood burning technique to mark the lines. This is a recent change in our technique. We used to glue wire down into the grooves, which we would then sand down flush with the surface. You can see this technique in many of our early boards. It looked great, but it was tedious to do, and it was also a source of problems if we did not do it exactly right.
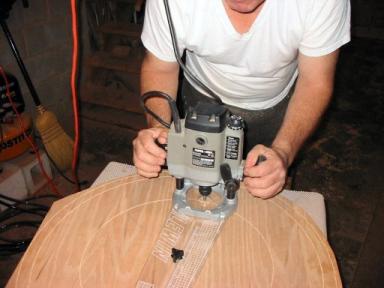 Carl uses a router with a circle cutting jig to make grooves about 1/16" deep.
The jig is a commercial one, but he originally used one that he made himself.
The bit has a simple vee shape. Notice that he also cuts the outside circle.
The guide is fastened to the center with a screw, so it is important to not drill
the center hole until after the lines are cut! We then cut the diagonal lines.
Carl uses a router with a circle cutting jig to make grooves about 1/16" deep.
The jig is a commercial one, but he originally used one that he made himself.
The bit has a simple vee shape. Notice that he also cuts the outside circle.
The guide is fastened to the center with a screw, so it is important to not drill
the center hole until after the lines are cut! We then cut the diagonal lines.
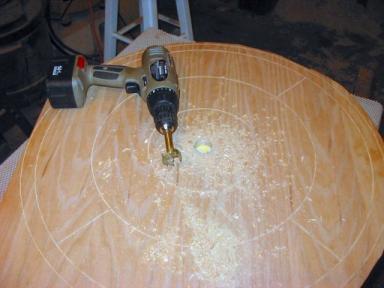 We drill the center hole using a 1 3/8" Forstner drill bit as shown.
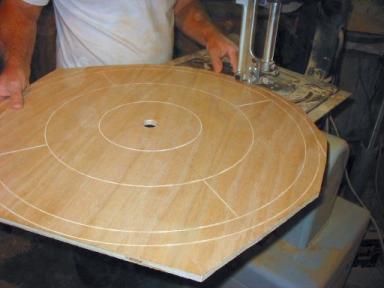 Carl uses his band saw to cut out the deck. A jigsaw would work too.
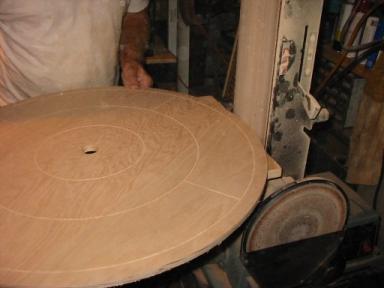 He uses his belt sander to makes the edge flat and square to the base.
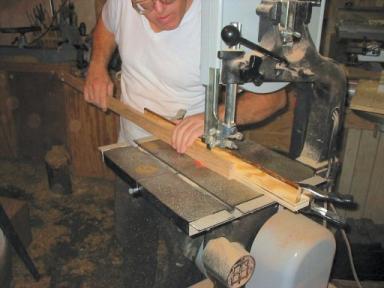 We make the rails from an 8’ strip of 1"x2" oak, which I have cut in half.
Carl has mounted a "resawing" blade in his band saw, and he
shaves off slices that are no more than 1/8" thick, much as you would see a
butcher slicing cheese or ham. He clamped a guide board to his saw table
to help him keep a consistent width. If the thickness of the strips varies too much, they may have to be run through a thickness planer.
We make the rails from an 8’ strip of 1"x2" oak, which I have cut in half.
Carl has mounted a "resawing" blade in his band saw, and he
shaves off slices that are no more than 1/8" thick, much as you would see a
butcher slicing cheese or ham. He clamped a guide board to his saw table
to help him keep a consistent width. If the thickness of the strips varies too much, they may have to be run through a thickness planer.
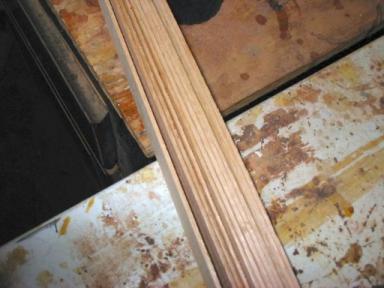 I have stacked the rails on edge. Each thin rail is 2" wide and 4’ long.
we need four rails for each board.
I have stacked the rails on edge. Each thin rail is 2" wide and 4’ long.
we need four rails for each board.